Handmade Planner Kits - Planner Stickers
Hello there. It's my first DIY blog post.
Recently, I've been obsessed with DIY planner stickers. In this blog post, I would like to share how I create my own planner stickers using washi tapes.

This DIY is inspired by Drop Around x Classiky: Dot/ Doughnut Stickers.


Recently, I've been obsessed with DIY planner stickers. In this blog post, I would like to share how I create my own planner stickers using washi tapes.

This DIY is inspired by Drop Around x Classiky: Dot/ Doughnut Stickers.

Let's get started !
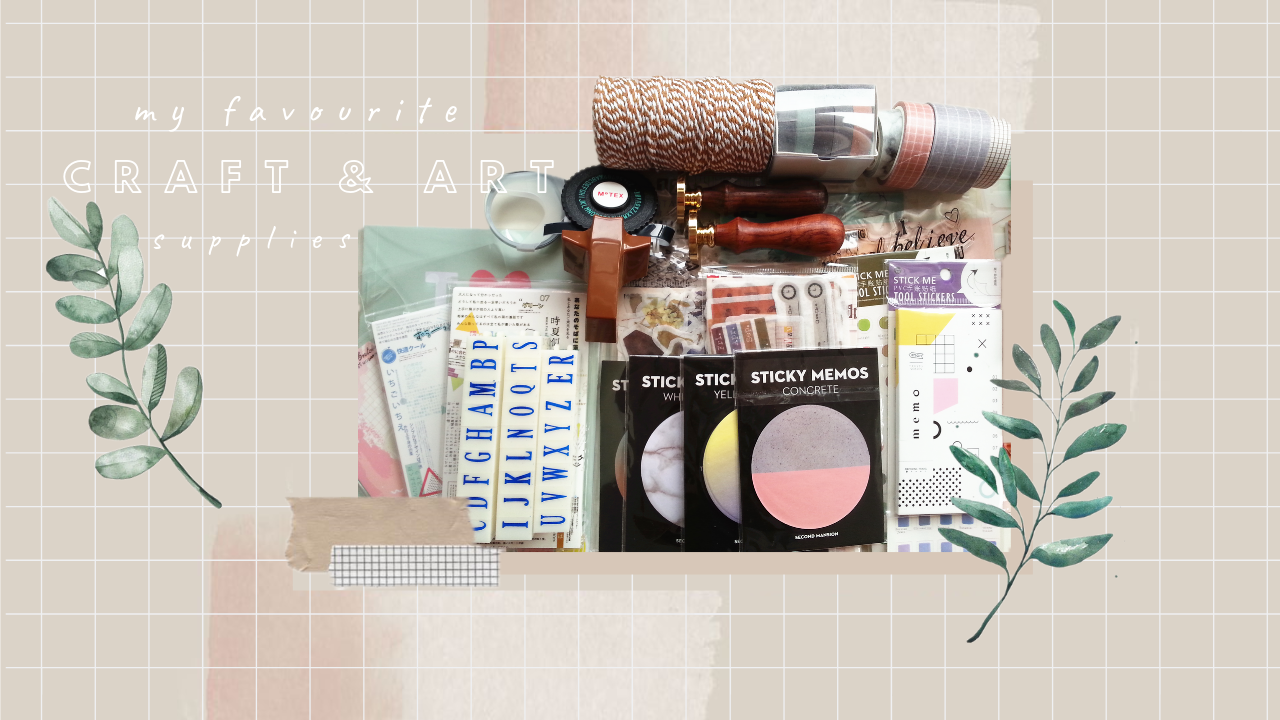
These are the materials you needed for making the planner stickers :


I chose to use this Geometry Washi Tape that I got from Online Stationery Store Appreciatowashiland !
Step 1 : Stick the washi tape on the sticker paper that we prepared earlier.
Step 2 : Cut the strips of washi tape out.

Step 3 : Use the shape puncher according to the shape of stickers we wish to create. I used the circle and hexagon puncher to make this stickers.

Ta-da ! Here are a few stickers made in the shape of circle and hexagon.

This is how I use these planner stickers on my journal.

Peel it off from the sticker paper and use it as a sticker.


Now it's time to create your own planner stickers and never stop playing with different washi tapes !
Create with the heart; build with the mind.
- Criss Jami
Enjoy reading and never stop creating !
Loves,
Mocy Girl

Comments
Post a Comment